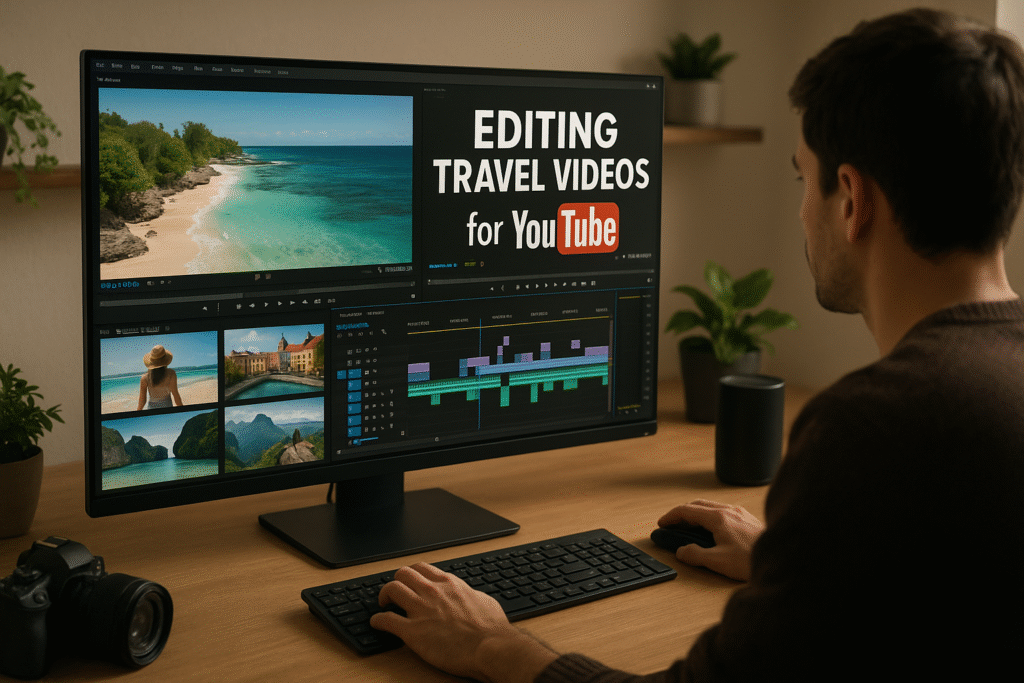
🎬 Editing Travel Videos for YouTube – Step-by-Step Guide for Beginners (2025)
Want to make your travel content stand out? Learn the complete process of editing travel videos for YouTube—from trimming to transitions, music, voiceovers, and exporting. By TheIndiaTourism.in.
🧭 Introduction: Turn Footage Into a Story
You’ve filmed the beaches of Digha, the rituals at Gangasagar, and the boat rides in Sundarbans. Now what? Raw clips alone won’t grab attention—editing is where the magic happens. This guide teaches you how to edit travel videos for YouTube, even if you’re a complete beginner, using tools that work for both mobile and desktop users.
🛠️ Tools You Can Use to Edit Travel Videos
| Platform | Beginner Friendly | Advanced Features |
|---|---|---|
| Mobile | CapCut, VN, InShot | LumaFusion (iOS), Kinemaster |
| Desktop | iMovie, Filmora | Adobe Premiere Pro, DaVinci Resolve |
✅ Start with mobile, scale to desktop as your channel grows
🎞️ 10-Step Process for Editing Travel Videos for YouTube
🎯 1. Plan Your Story Before You Edit
Even before importing clips, decide:
-
What’s the theme? (e.g., “Budget Trip to Mayapur”)
-
What’s the structure? (Intro → Experience → Outro)
✅ Makes editing faster and more focused
🗂️ 2. Organize Your Clips
-
Rename footage: “Sundarban_boatride_1.mp4”
-
Separate into folders: Drone, POV, B-Roll, Voiceovers
✅ Clean workspace = smooth editing
✂️ 3. Trim & Cut the Fluff
Keep only strong, meaningful clips.
✅ Shorter is better. Aim for:
-
5–8 minutes for casual vlogs
-
10–12 minutes for documentary-style
🎥 4. Add Engaging B-Roll
Use clips of:
-
Street food
-
Crowd shots
-
Nature walks
✅ B-Roll enhances storytelling and covers jump cuts
🎵 5. Choose the Right Background Music
Use royalty-free tracks from:
-
YouTube Audio Library
-
Epidemic Sound
-
Artlist
✅ Match energy to vibe (calm for temples, upbeat for cities)
🎙️ 6. Add Voiceover or Narration
Explain what you’re showing. Use a script or speak naturally.
✅ Record in a quiet room with a lav mic or smartphone
🧩 7. Add Transitions & Effects Wisely
Use smooth fades, zoom-ins, or whip transitions to:
-
Connect temple entrances
-
Move from one city to another
✅ Don’t overdo—keep it clean and professional
📝 8. Insert Titles, Subtitles, and Lower Thirds
Add:
-
Location names (e.g., “Gangasagar – Day 1”)
-
Tips (e.g., “Ferry ticket ₹10”)
-
Subtitles to increase reach
📍 9. Use Maps, Itinerary Slides & Reels
Visualize the journey with:
-
Route animation (via Canva or Google Earth Studio)
-
Itinerary breakdown cards between scenes
🧾 10. Export with Best YouTube Settings
| Format | MP4 (H.264 codec) |
|---|---|
| Resolution | 1080p or 4K (if shot in 4K) |
| Frame Rate | 30 FPS |
| Bitrate | 10–12 Mbps for 1080p, 35 Mbps for 4K |
✅ Always watch the exported video before uploading
📈 Pro Tips to Make Your Travel Video Stand Out
-
📍 Use YouTube Chapters (timestamps) for each location
-
📸 Add a custom thumbnail (Canva works great!)
-
🧠 Include your brand logo or watermark in a corner
-
📲 Add end screens & calls to action (Subscribe, Next video)
-
📌 Pin a helpful comment with FAQs or links to related reels/blogs
🔗 Suggestions
❓FAQs: Editing Travel Videos for YouTube
Can I edit full travel vlogs on mobile?
Yes! Apps like CapCut and VN offer powerful editing tools, perfect for 5–10 min vlogs.
What’s the ideal video length for travel vlogs?
Keep it between 6–10 minutes. Hook viewers early, deliver value, and end strong.
How do I make my videos look cinematic?
Use:
-
Cinematic B-Roll
-
Color grading (even with mobile filters)
-
Slow motion + stabilizer for smoother shots
🌼 Conclusion: Shoot, Edit, Inspire
Creating engaging travel videos isn’t just about great footage—it’s about editing that footage into a story people love to watch and share. With the right tools, music, voice, and flow, your content can inspire others to take the same trip.
Let TheIndiaTourism.in help you not just explore India—but share its soul with the world, one video at a time.
YouTube travel video tips, Video editing travel vlogs, Travel vlogger tutorial, India vlog editing guide, TheIndiaTourism.in


